Creating a simple blog with Hugo
How to instal Hugo, create a simple blog and deploy to Github Pages
Published on December 18, 2022 2071 words 10 min read HUGO
Contents
Creating a blog has never been easier. We have many available technologies to choose from, with most of them having their own pros and cons. Today we will check out the process behind quickly setting up a blog with HUGO and deploying it on github using github pages.
What is Hugo #
If you are like me and don’t particularly enjoy writing content for a static webpage in pure HTML and at the same time you do not want to use a CMS like Wordpress, i have a great solution for you. Enter Hugo. A blazingly fast SSG or static site generator that generates web pages with content extracted from markdown files. Plain and simple its fast, very customizable and has great documentation.
Hugo ships with very cool capabilities and premade templates that help you make quick work of SEO, commenting, analytics and other functions. You simply add a few lines to your config file and you’re set !
Additionally it comes with a list of over 300 themes to choose from which is great for simple blogs, brochure-type pages and documentation sites. If you don’t find something that fits your needs you can still build your own using traditional HTML / CSS / JavaScript techniques like i did, it wasn’t that difficult and there are some great tutorials out there on how to use Hugo’s templating engine such as the one by Mike Dane.
Hugo is available for Mac, Windows and Linux.
Installing Hugo #
I work with Debian and installing hugo was a breeze. All i had to do was type one command on the terminal and i was ready to configure and deploy my new site. Don’t worry, if you’re not on Debian we’ll look at how you can install HUGO on Windows as well.
Installing on Linux #
# Ubuntu/Debian
sudo apt install hugo

# Arch
sudo pacman -Syu hugo

# Fedora
sudo dnf install hugo

# Homebrew
brew install hugo
Installing on Windows #
Installing hugo on windows is a little bit more difficult than installing on linux, involving just a few more steps. To begin, we will need to download the Windows-64bit current release from github. Link.
After we’ve selected and downloaded the appropriate relase from github, we will need to create some folders and then extract there the contents of the zip file that we downloaded. The path we will need to create is this :
C:\Hugo\bin
To test if its working open a command prompt in this folder and type hugo version. It should reply with the version of hugo that we’ve downloaded which means its working properly. Next we need to create an environment variable for hugo.
To create an environment variable type ’edit the system environment variables’ in windows search of the start menu and select it. On the buttom ‘Advanced’ tab, click the ‘Environment Variables’ button. A new window should pop up with two tables. On the first table which is the user variables for your user click on the ‘Path’ variable and select ‘Edit’. A new window should pop up once more which displays all the environment variables for our user. Select ‘New’ and type
C:\Hugo\bin and enter. Click OK on each window to close them.
Now that we have an environment variable for hugo we should be able to open a command prompt and access hugo from anywhere. Type hugo version to test it out. It should work like before when we tested from the C:\Hugo
bin folder.
Creating a new Hugo site #
Creating a new site with hugo is easy. Simply go inside a folder where you want the new site to be located, open a terminal there and type
hugo new site site-name-here
A new folder will be created with the contents of your new site. Congratulations, the skeleton of your new site is ready. The folder structure should look like this :
.
├── archetypes
│   └── default.md
├── config.toml
├── content
├── data
├── layouts
├── static
└── themes
We won’t go deep on explaining how hugo works here. We just need to know that our posts will go into the Content folder and that the basic configuration of our site is stored at config.toml file. For this project we will touch explore a bit of both.
According to hugo documentation the configuration file could be a tolm, yml or json file. Hugo can recognize and work with any of them, and when you add a theme later, the sample config file for the theme could be in any of those 3 files. Just remember to keep an eye on it.
Adding a theme #
Like i mentioned above, one of the best features of hugo is the ability to add themes. We can create one ourselves or we can find themes made by others over at themes.gohugo.com.
Once we find a theme we like and download it, create a folder inside the themes directory and extract the contects of the theme downloaded from github inside.
For this tutorial we will download the papermod theme so go ahead and clone the directory from github.
To enable the theme we need to edit our config.toml file and copy and paste the following.
baseURL = "https://examplesite.com/"
title = "ExampleSite"
paginate = 5
theme = "hugo-PaperMod"
enableRobotsTXT = true
buildDrafts = false
buildFuture = false
buildExpired = false
googleAnalytics = "UA-123-45"
pygmentsUseClasses = true

[minify]
	disableXML = true
	minifyOutput = true

[params]
	env = "production"
	title = "ExampleSite"
	description = "ExampleSite description"
	keywords = [ "Blog", "Portfolio", "PaperMod" ]
	author = "Me"
	images = [ "<link or path of image for opengraph, twitter-cards>" ]
	DateFormat = "January 2, 2006"
	defaultTheme = "light"
	disableThemeToggle = false
	ShowReadingTime = true
	ShowShareButtons = true
	ShowPostNavLinks = true
	ShowBreadCrumbs = true
	ShowCodeCopyButtons = true
	ShowWordCount = true
	ShowRssButtonInSectionTermList = true
	UseHugoToc = true
	disableSpecial1stPost = false
	disableScrollToTop = false
	comments = false
	hidemeta = false
	hideSummary = false
	showtoc = false
	tocopen = false

  [params.assets]
	  favicon = "<link / abs url>"
	  favicon16x16 = "<link / abs url>"
	  favicon32x32 = "<link / abs url>"
	  apple_touch_icon = "<link / abs url>"
	  safari_pinned_tab = "<link / abs url>"

  [params.label]
	  text = "Home"
	  icon = "/apple-touch-icon.png"
	  iconHeight = 35

  [params.profileMode]
	  enabled = false
	  title = "ExampleSite"
	  subtitle = "This is subtitle"
	  imageUrl = "<img location>"
	  imageWidth = 120
	  imageHeight = 120
	  imageTitle = "my image"

    [[params.profileMode.buttons]]
	    name = "Posts"
	    url = "posts"

    [[params.profileMode.buttons]]
	    name = "Tags"
	    url = "tags"

  [params.homeInfoParams]
	  Title = "Hi there 👋"
	  Content = "Welcome to my blog"

  [[params.socialIcons]]
	  name = "twitter"
	  url = "https://twitter.com/"

  [[params.socialIcons]]
	  name = "stackoverflow"
	  url = "https://stackoverflow.com"

  [[params.socialIcons]]
	  name = "github"
	  url = "https://github.com/"

[params.analytics.google]
	SiteVerificationTag = "XYZabc"

[params.analytics.bing]
	SiteVerificationTag = "XYZabc"

[params.analytics.yandex]
	SiteVerificationTag = "XYZabc"

  [params.cover]
	  hidden = true
	  hiddenInList = true
	  hiddenInSingle = true

  [params.editPost]
	  URL = "https://github.com/<path_to_repo>/content"
	  Text = "Suggest Changes"
	  appendFilePath = true

  [params.fuseOpts]
	  isCaseSensitive = false
	  shouldSort = true
	  location = 0
	  distance = 1_000
	  threshold = 0.4
	  minMatchCharLength = 0
	  keys = [ "title", "permalink", "summary", "content" ]


[[menu.main]]
	identifier = "tags"
	name = "tags"
	url = "/tags/"
	weight = 20

[[menu.main]]
	identifier = "posts"
	name = "posts"
	url = "/posts/"
	weight = 10

[markup.highlight]
	noClasses = false
This might look a little complicated but after spending a couple of hours working with hugo and its documentation it will all seem fairly straightforward. The contents of the above file were taken from the example posted in the documentation of the papermod at github, and were altered just a bit to fit the contents of this tutorial.
For now just take notice that the baseURL parameter at the top of the page matters and if you’re planning to publish a blog with your own purchased domain name you should use that. Alternatively set it to "/".
To set the theme all you need to do is set theme = hugo-PaperMod or the name of whatever theme you are using which we have already done in the settings we can see above. The name is case sensitive and it must match exactly the name of the folder inside the themes directory.
To check how our website looks we can temporarily start the hugo server
hugo server -D
Our site should now be deployed locally. Following our console’s instructions we can connect to it on our browser through localhost:1313.
Most hugo themes have a lot of parameters that can be set in our configuration file that allow for customization. We won’t go over them in this tutorial but be sure to check out your theme’s documentation for a list of parameters that can be set in order to alter its appearence or function.
CTRL-C on the terminal to stop the hugo server once we’re done inspecting our new site.
Creating our first blog post with markdown #
To create a new post in our blog we type the following command
hugo new posts/my-first-post.md
New posts are located inside the content folder. Once we locate our my-first-post.md file and open it we can see that hugo has went ahead and added some information inside our file.
---
title: "My First Post"
date: 2022-08-31T01:44:39+03:00
draft: true
---
These parameters are mostly self-explanatory. The title is the title of our post, the date corresponds to the date and time that the post was created by hugo, and the draft if set to true means that the post is still on a draft state, so don’t publish it once you build the website.
Go ahead and add any markdown content you wish inside the file, save it and exit. Our first post file looks like this
---
title: "my-first-post"
date: 2022-08-31T01:44:39+03:00
draft: false
summary : A hello world post
tags : ["HUGO", "Hello"]
author: "Andrew V"
cover:
    image: "hello.png"
    hidden: false
---

# Hello world

I would like to say hello.
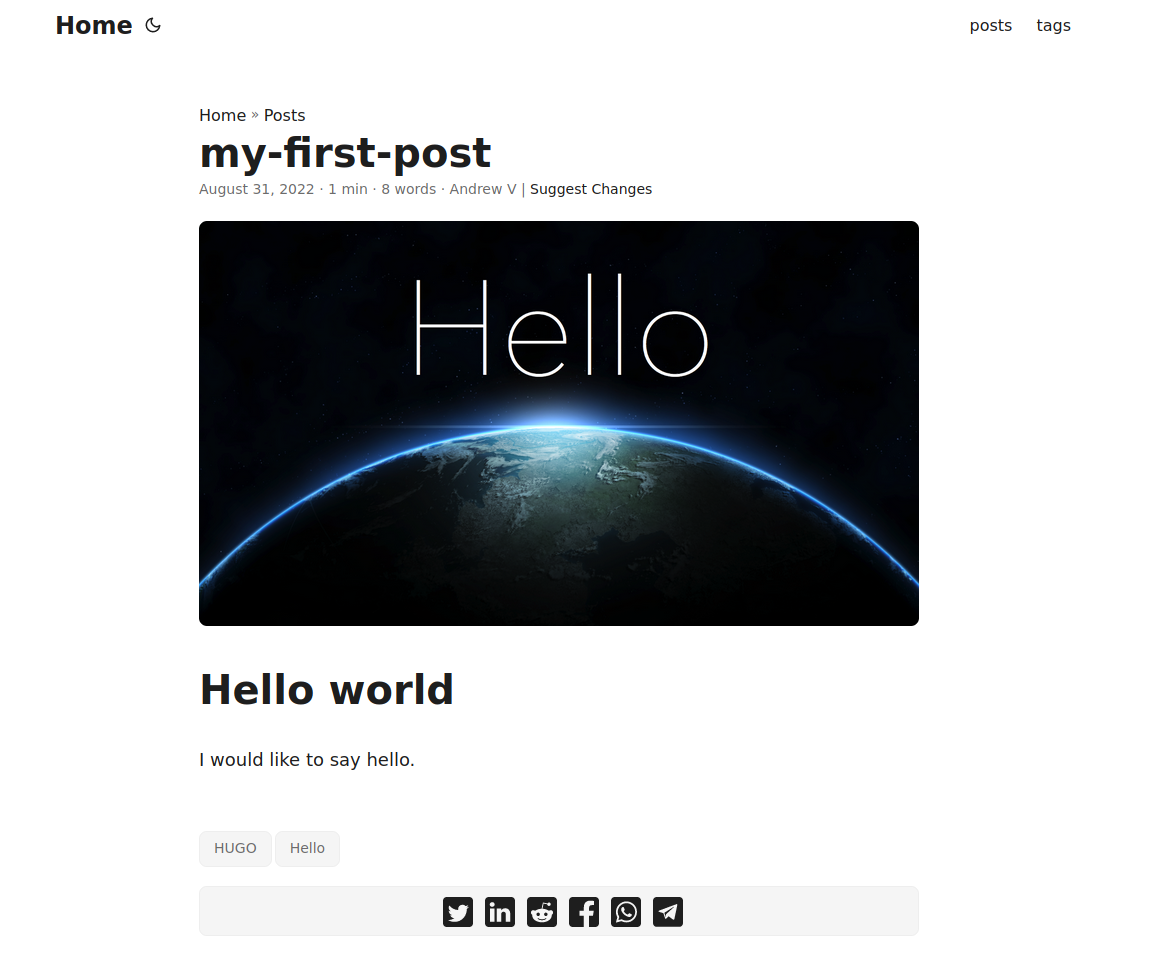
In our file we have added a summary, tags, author name and a cover image. The summary is a short description of the post for the list view, tags are set so that the readers of the blog can find all posts with similar tags and the cver image of the post is just an image that is displayed at the top of the post. This image and other assets such as javascript files or css scripts must be placed into the static folder. For this tutorial i have downloaded an image from google images.
To see our site once again, with our post included we simply start the server once more using the same hugo server -D command. Notice the -D flag, it stands for draft. When we start our server with the D flag it tells the hugo server that it needs to display even the posts that have the draft parameter set to true. If we do not set this flag, we won’t be able to see any posts like that.
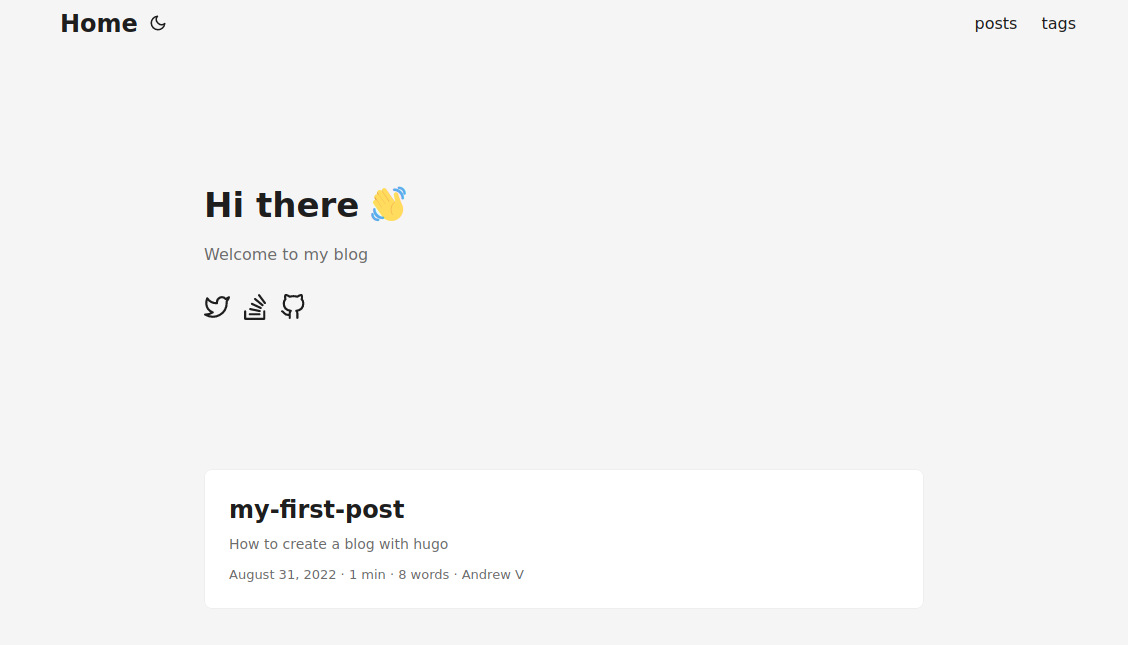
After we start the server can clearly see that our site includes our post and its content, and it is ready to be built and subsequently deployed.
This is how our page looks
This is how our first post looks
Building our site #
Building our site is one of the simplest things we can do with hugo. All we have to do is open a terminal inside the website folder and type hugo. Our site will be built and a folder named public will appear inside our site folder structure. The public folder contains all the files necessary for publishing our site, including the content ot the markdown files that we created which have now been converted to HTML.
Remember, only the markdown files that have draft : false will be built.
Deploying to Github with Github Pages #
Deploying our site to github and publishing with github pages is very easy. Simply create a new repository and upload the contents of the public folder. Under the Settings, Pages, change the Source to deploy from branch and under Branch select the main branch and save. Within a few moments your website will be deployed. You can check the progress of your deployment under the Actions tab on your github repository.
Done #
This concludes this tutorial on how to create a simple blog with hugo, add a theme, build and deploy it to github pages. Hope you enjoyed it and learned something in the process. For more information on HUGO and its capabilities check out the great documentation over at gohugo.io
---
If you found this post useful please consider donating a small amount to support my effort in creating more content like this.